How to Create Google Analytics Goals to Track Conversions

Looking to optimize your website for conversions? To do that, you’ll need to track conversions by setting up goals in Google Analytics.

In this tutorial, we’ll show you how to go about adding goals to Google Analytics to track conversions using two different methods. First, we’ll go over the process of setting up goals manually. The process can be confusing and difficult for beginners, so we’ll also look at an easier way to track conversions: with MonsterInsights.

First, let’s take a look at what goals are and why you might need them.

What are Goals in Google Analytics?

Google Analytics goals allow you to track specific user interactions on your site. These user interactions can be anything including form submissions, product purchases, visiting certain pages, and more.

MonsterInsights is the best WordPress Analytics plugin. Get it for free!

When a website visitor performs the specific action that you’ve defined as a goal, Analytics records that as a conversion.

Let’s take a look at or two different ways to track your website’s conversions.

Two Ways to Track Conversions with Google Analytics:

  1. How to Set up Goals in Google Analytics
  2. How to Track Conversions Using MonsterInsights

Video Tutorial

Adding Goals to Google Analytics in 4 Steps

  1. Sign into your Google Analytics account
  2. Navigate to Admin » Goals
  3. Click the + New Goal button
  4. Enter goal details

Once you know how to add Google Analytics to WordPress, you can set up goals in Google Analytics by following these steps:

Step 1: Sign in to your Google Analytics account

Head to https://analytics.google.com/analytics/web/ and select the website for which you’d like to create a new goal.

Select a Google Analytics Account

Step 2: Navigate to Admin » Goals

In the left panel, click the Admin cog, and in the View column, click Goals.

Goals in the admin panel in Google Analytics

Step 3: Click the + New Goal Button

To create a new goal, click the +New Goal button.

Create a new goal in Google Analytics

Step 4: Enter Goal Details

Now you’ll be prompted to enter a description and the details of your goal. You can enter a suitable name and choose the right goal type.

Which Goals are Available in Google Analytics?

You’ll see four goal types in Google Analytics. They are:

  • Destination: You can choose this goal type if you want to treat a pageview or screen view as a conversion.
  • Duration: You can measure user engagement by treating time spent on a page as a conversion.
  • Pages/Screens per session: This is another way to measure user engagement. You can measure the number of page views per session as a conversion.
  • Event: You can treat user interaction like button click, video play, form submission, ebook download as a conversion.

To dive deeper into the types of goals in Google Analytics, read 4 Types of Goals in Google Analytics: Crucial Data to Track Now.

For this example, we’ll set up a goal for a newsletter signup. So, when you click the + New Goal button, you’ll see a list of available goal templates and the Custom option. For this walkthrough, pick Custom.

Custom Goal in Google Analytics

Click Continue.

Then, you can fill in a name for your goal, and choose the goal type. We’re going to pretend we have a thank you page set up for when someone signs up for our newsletter, so we’ll use a Destination goal.

Goal creation step 2 in Google Analytics

Now, click Continue.

Then, we’ll fill in the page we want to count as a conversion (our thank you page), /thank-you. You can also turn on the Value option if you want to give your goal an approximate value for reporting purposes.

Goal step 3 in Google Analytics

You can click on the Verify this Goal link if you want to measure how often this goal would have converted on your data from the past 7 days.

Once you’ve entered these details, click Save.

You’ve successfully created a goal in Google Analytics.

For a more in-depth walkthrough on creating all the different types of goals, head to the Google Analytics walkthrough.

How to Track Google Analytics Goals Using MonsterInsights

If your website is on WordPress, we have great news. Tracking a whole list of conversions, including form submits, is much easier with MonsterInsights!

MonsterInsights Logo

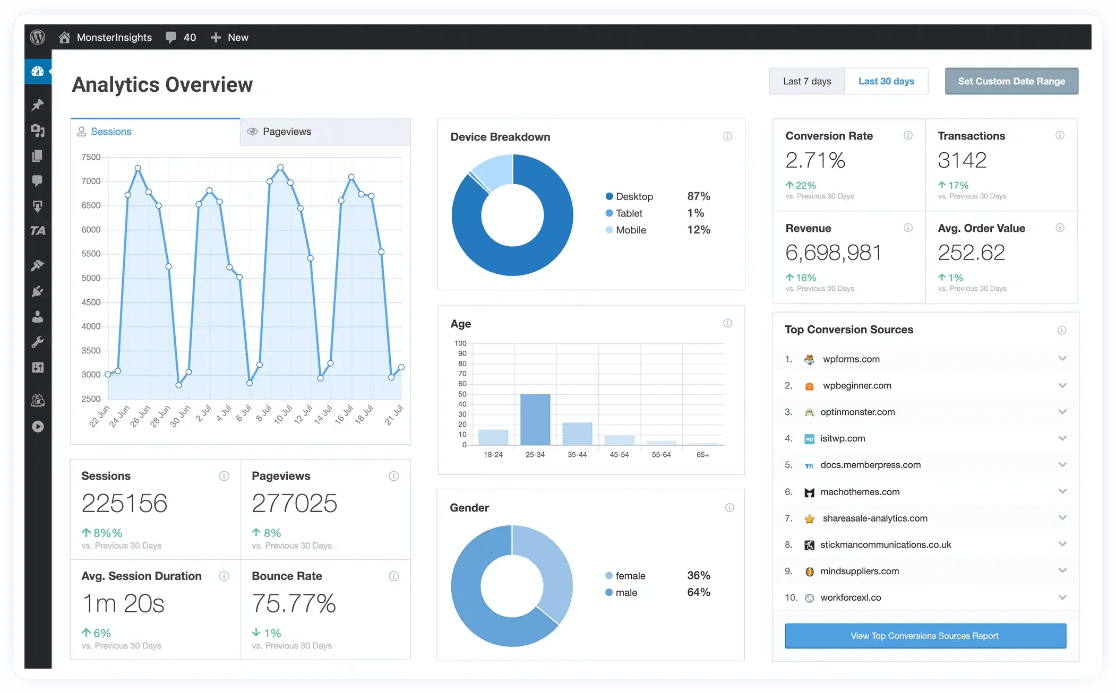
MonsterInsights is the best Google Analytics WordPress plugin available. It allows easy event tracking and displays reports right in your dashboard.

This way you can make data-driven decisions, analyze which goals are performing better, and make appropriate changes.

One of the biggest advantages of using MonsterInsights is that you don’t have to manually set up goals in Google Analytics. The plugin can set up and track multiple conversions for you, including:

  • eCommerce Sales
  • Form Submissions
  • Video Plays
  • Outbound Clicks
  • File Downloads

For example, let’s take a quick look at how MonsterInsights tracks form submissions.

Easy Forms Tracking Addon

If you have several forms on your website, creating goals for each of them can be a difficult and time-taking task.

But using MonsterInsights Forms Tracking addon, you can track each form without messing with any code or going through the manual set up process of creating a goal.

The WordPress plugin tracks all the forms that are on your website and displays their impressions, conversions, and conversion rate in a simple report.

forms tracking addon

For more examples of what events and goals you can track with MonsterInsights, check out Your Ultimate Guide to MonsterInsights Dashboard Reports.

That’s it!

We hope you enjoyed our article on how to create a goal in Google Analytics to track conversions. You might also want to check out our guide on tracking links and buttons in WordPress.
And don’t forget to follow us on Twitter, Facebook and YouTube for more helpful Google Analytics tips.

Want to Try MonsterInsights for Free?

Enter the URL of Your WordPress website to install MonsterInsights Lite.

Comments

  1. Super helpful, insightful content! I was looking for a more updated post to help me with the logistics of setting up a ‘goal’ on Google Analytics. Thank you Monster Insights for your help!

  2. I am wondering how to use the MonsterInsights Pro subscription I just purchased to make setting up goals easier directly using the plugin. I am not using an ecommerce store, I am using funnels built by the OptimizePress funnel builder. So what I am looking for is a MonsterInsights feature that allows me to easily set up a goal on any arbitrary wordpress page on my site. I thought the Pro version would have that but apparently I didn’t do enough research beforehand. Thanks

  3. Hi, I am wondering what I would put into the label field if I am using contact form 7 instead of WPforms. Thanks

    1. Hi Marissa! Thanks for your question, it’s a good one! In your forms list in Contact Form 7, look in the shortcode for the form ID. The shortcode looks like this: [contact-form-7 id=”29″ title=”Contact form”]
      So in that example, the id is 29.
      Your event label will look like this, but change the 29 to your form ID:
      wpcf7-f29
      Let us know if you need any more help!

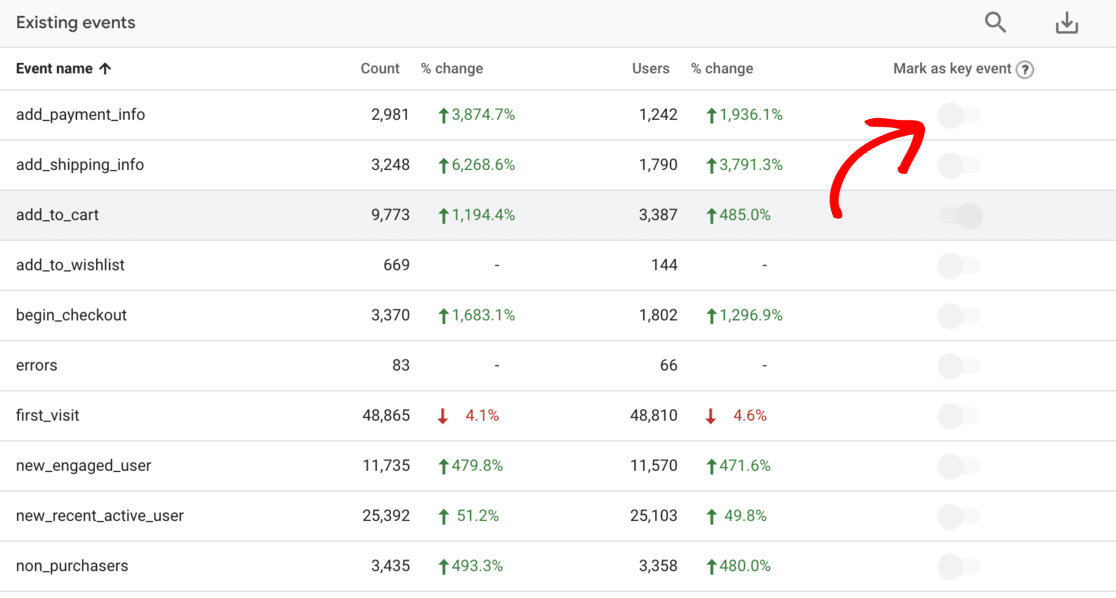
    1. Hi Shah, thanks for your question! We do have this topic (GA4 goals) on our blog schedule and will be posting about it soon! Goals in GA4 are actually no longer called goals. Instead, to set up goals, you mark events as conversions. Here’s Google’s tutorial: https://support.google.com/analytics/answer/9267568.
      I know their tutorials are technical and difficult to follow, but I hope that helps until we can post ours!

  4. How do you get monetary value from goal setting once you’ve established opportunities of the goals you’ve set, how can you start earning that the goals conversions have indicated? What should the next steps be to grow that in real time?

Add a Comment

We're glad you have chosen to leave a comment. Please keep in mind that all comments are moderated according to our privacy policy, and all links are nofollow. Do NOT use keywords in the name field. Let's have a personal and meaningful conversation.

This form is protected by reCAPTCHA and the Google Privacy Policy and Terms of Service apply.