Are you looking for a way to allow more file types on your website? If so, then you’re in the right place.
WordPress allows certain file types that you can upload on your website by default. This means you cannot upload or accept files that are outside the limits set by WordPress.
This is where plugins like File Upload Types by WPForms come in handy. They allow you to add any type of file to your WordPress site.
In this article, we’ll show you how to allow WordPress to upload all file types. So, let’s begin…
Why Doesn’t WordPress Allow All File Types?
You might wonder at this point, why can’t you upload any type of file on your WordPress website? That’s because WordPress limits file extensions to protect your site from potential security risks or misuse.
For example, if you allow users to upload a file with .exe extension, there is a chance you might get malware and hackers can gain access to your site. As a result, they can damage your reputation, steal information, ask for ransom, and expose you to other threats.
That’s why when you try to upload a file type that’s not allowed by WordPress, you’ll receive a message saying: Sorry, this file type is not permitted for security reasons.

So, which file types does WordPress allow by default?
Here’s a list of common file extensions you can upload on your site without any trouble:
- Images: .jpg, .png, .gif, .jpeg, ico
- Documents: .pdf, .doc, .ppt, .odt, .xls, .psd
- Audio: .mp3, .m4a, .ogg, .wav
- Video: .mp4, .mov, .avi, .mpg, .ogv,. .3gp, .3g2
Why Should You Allow More File Formats on WordPress?
This brings us to another question you might be thinking: if there are security threats, why should you allow more file types on your site?
Well, there are many use cases where allowing additional file types can provide benefits to your users, smoothen workflows, and improve the overall user experience of your website.
For example, let’s say you want to receive quotations from your clients. You can allow them to upload spreadsheets in .xlsx, .xml, or .ods formats to your website with all the details.
And if you want users to submit audio recordings in high quality for your podcast, you can allow additional file extensions like .dts file on your site.
Now, let’s see how you can accept more file formats on WordPress.
How to Allow All File Types in WordPress?
Just follow these steps, and you can add any file types to your WordPress site.
Step 1: Choose a File Upload Plugin for WordPress
To allow different file formats on your website, you’ll need a WordPress file upload plugin. It will help you accept different files without having to touch any line of code.
There are many WordPress file upload plugins out there, but if you’re looking for a free solution that’s easy to use, then consider using File Upload Types by WPForms.
It offers numerous file formats that you can accept on your WordPress site. Not only that, but you can even add custom file types using the plugin.
And it’s compatible with popular WordPress forms plugins like WPForms, so you can accept different file extensions in your file upload forms.
Step 2: Set Up WordPress File Upload Plugin
Once you’ve selected a WordPress plugin to add file types, let’s go ahead and set it up on your website.
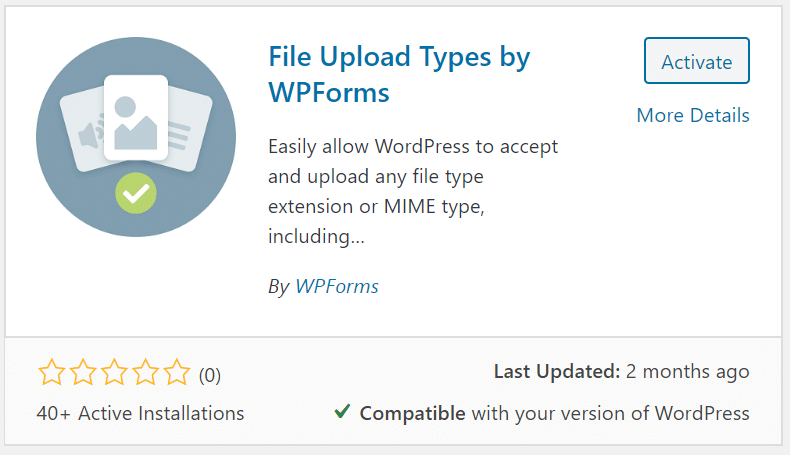
Login to your WordPress dashboard and then go to Plugins » Add New. Now search File Upload Types by WPForms in the search bar and then click Install and Activate.

Step 3: Enable File Types on Your Site
Next, go to your file upload plugin from your dashboard after installation to allow different file types on your site.
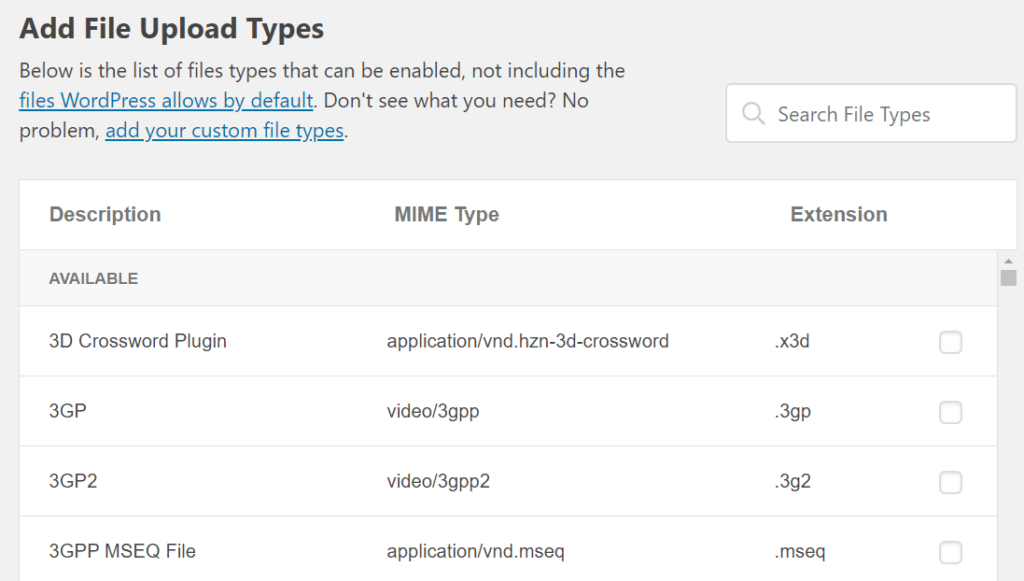
You can do that by going to Settings and then select File Upload Types. The plugin will then show you a list of file types along with their description, MIME type, and extension.
Simply enable any file format you want to accept on your WordPress site and click Save Changes.

Step 4: Add a Custom File Type
Can’t find the file type of your choice from the list? Don’t worry as File Upload Types plugin lets you add custom file formats.
If you scroll down, under the list there is an option to enter a custom file type. Just add a file description, its MIME type, and extension, and click the plus (+) sign.
Once you’re satisfied with your new custom file extension, click Save Settings.

Congratulations!
You’re now able to upload all file types on your WordPress site.
Now let’s look at some security measures you can use to secure your site for accepting different files.
Security Tips for Allowing All File Formats on Your Site
When you allow uses to upload certain file types, you’re exposing your site to multiple risks. To strength your WordPress site’s defenses and safeguard your data, here are some security tips:
- Limited File Size – To prevent any misuse of your site, you can limit the file size of uploads, so users cannot submit large files that may contain malware
- Only Allow Certain File Types – It’s not necessary that you allow all file extensions, you can only accept additional formats that are really needed on your site and avoid file types that are executable like .exe files
- Use WordPress Security Plugins – There are different WordPress security plugins you can use to offer real-time file monitoring to check for vulnerabilities
- Register Users Before Upload – Only allow uploading of files when a user registers and logs in, as it may help you trace the attacker in case your site is compromised
- Store Uploaded Files on Another Location – You should store all your uploaded files on another directory that is outside your WordPress root directory, so no one can run any malicious programs and ruin your site
- Regularly Backup Your Site – To boost your WordPress security, regularly create backups of your site so you can easily restore data in case of an attack
- Scan for Malware – Along with regular backups, it’s also a good practice to scan your site for malware using plugins like BackupBuddy
That’s it!
We hope you liked our article on how to allow WordPress to upload all file types. If you enjoyed reading this post, you can also go through our definitive guide to Google Analytics for publishers.
And don’t forget to follow us on Twitter and Facebook for more guides and tutorials.

