Looking for an easy way to set up WordPress multisite Google Analytics tracking?MonsterInsights makes it easier than ever to set up Google Analytics on all of your sites.
WordPress multisite can save you a lot of time in managing multiple websites, but it also causes some unique problems – one of which is installing analytics.
Luckily, there’s actually a really easy way to set up Google Analytics for WordPress multisite networks that will save you a ton of time. Plus, you won’t have to touch a single line of code or hire a developer to get the job done.
The Problem with Google Analytics and WordPress Multisite Networks
Most Google Analytics plugins for WordPress lack support for multisite. That means that you need to go through each individual site in your network and add your Google Analytics tracking code one by one.
That’s not such a big deal if you only have a few sites, but what about networks with dozens or even hundreds of sites?
Thankfully, there’s a better way! Ready to learn how to set up WordPress multisite Google Analytics tracking? Let’s begin…
The Best WordPress Multisite Google Analytics Plugin
MonsterInsights is the best Google Analytics plugin for WordPress. You can set up advanced tracking without editing any code or hiring a developer. You’ll get the insights that matter, right inside your WordPress dashboard.
With MonsterInsights, all you need to do is connect your Google Analytics account using MonsterInsights. The tracking code is automatically added for you behind the scenes and works across your entire multisite network.
No technical skills are required, and you never even have to copy and paste your tracking code. Plus, you’ll also get access to tons of other Google Analytics features and sophisticated tracking in only a few clicks, such as:
- One-click Google Ads and Microsoft (Bing) Ads conversion tracking
- Custom dimensions and custom event tracking
- Social media and referral tracking
- Advanced form tracking and integration with popular form builders like WPForms, GravityForms, Ninja Forms, Formidable Forms, and more.
- Advanced content and author tracking
- Outbound and affiliate link tracking
- EU Compliance
- Video play tracking
- And more…
To set up Google Analytics using MonsterInsights on your multisite network, you’ll need the Agency plan. We’ll walk you through the entire process of setting up your Google Analytics account and activating MonsterInsights.
To get started, head to MonsterInsights’ pricing page.
How to Add Google Analytics to a WordPress Multisite
- Step 1: Sign Up for Google Analytics
- Step 2: Install MonsterInsights
- Step 3: Connect Google Analytics to Your Multisite Network
- Step 4: View Subsite Analytics in WordPress
- Step 5: Add More Sites to Google Analytics
Step 1: Sign Up for Google Analytics
After you purchase an Agency license, you’re ready to set up Google Analytics for your multisite network.
The first step is to sign up for a Google Analytics account. Already have a Google Analytics account? Skip to step 2.
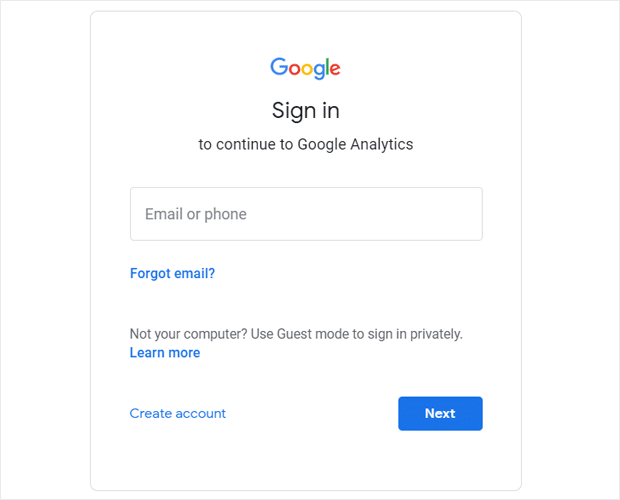
To get started, go to the Google Analytics website and click the Sign In link in the top right corner of the page.

On the next page, log in to your regular Google account (or click the Create account link in the bottom left if you don’t have one or would like to create a new one).
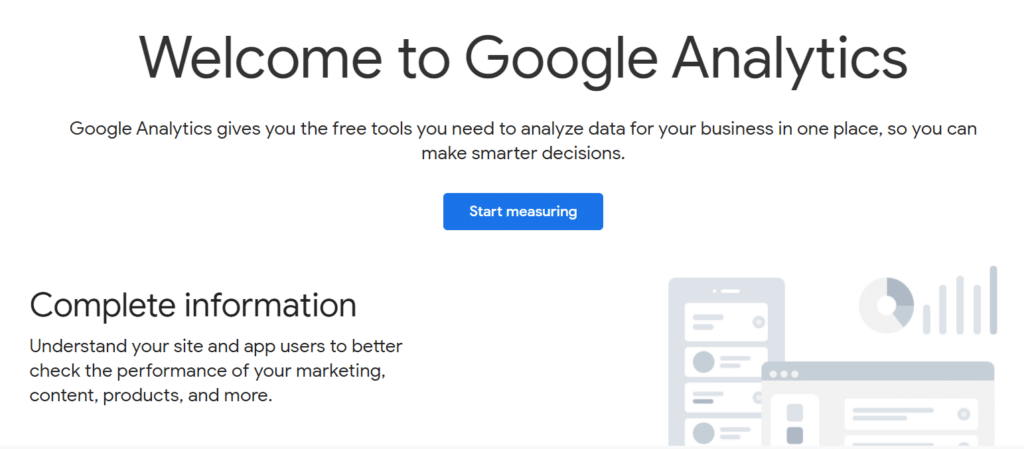
After you’re logged in, click the Start measuring button.
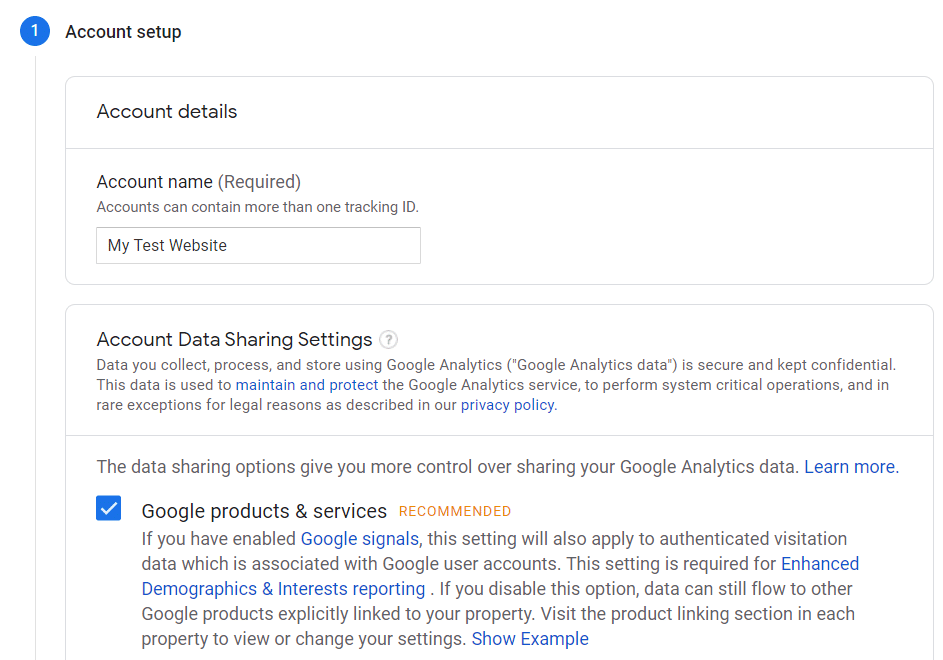
On the next screen, Google Analytics will ask for your account details. Start by entering an account name. Then, click all the checkboxes for Account Data Sharing Settings and hit Next.
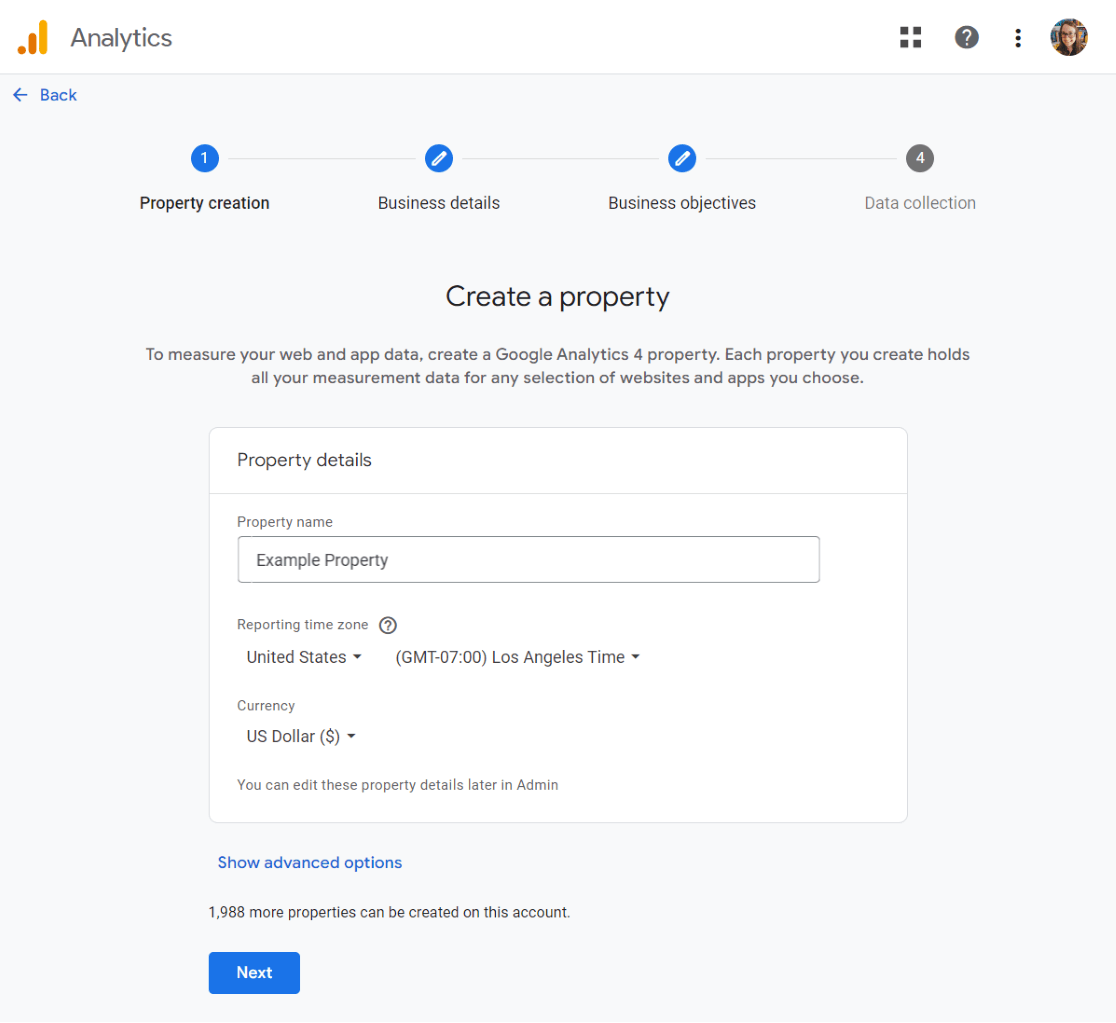
After that, you’ll need to fill out your Property details. Give a name to your property (website), select a reporting time zone, and choose your currency. Press Next.
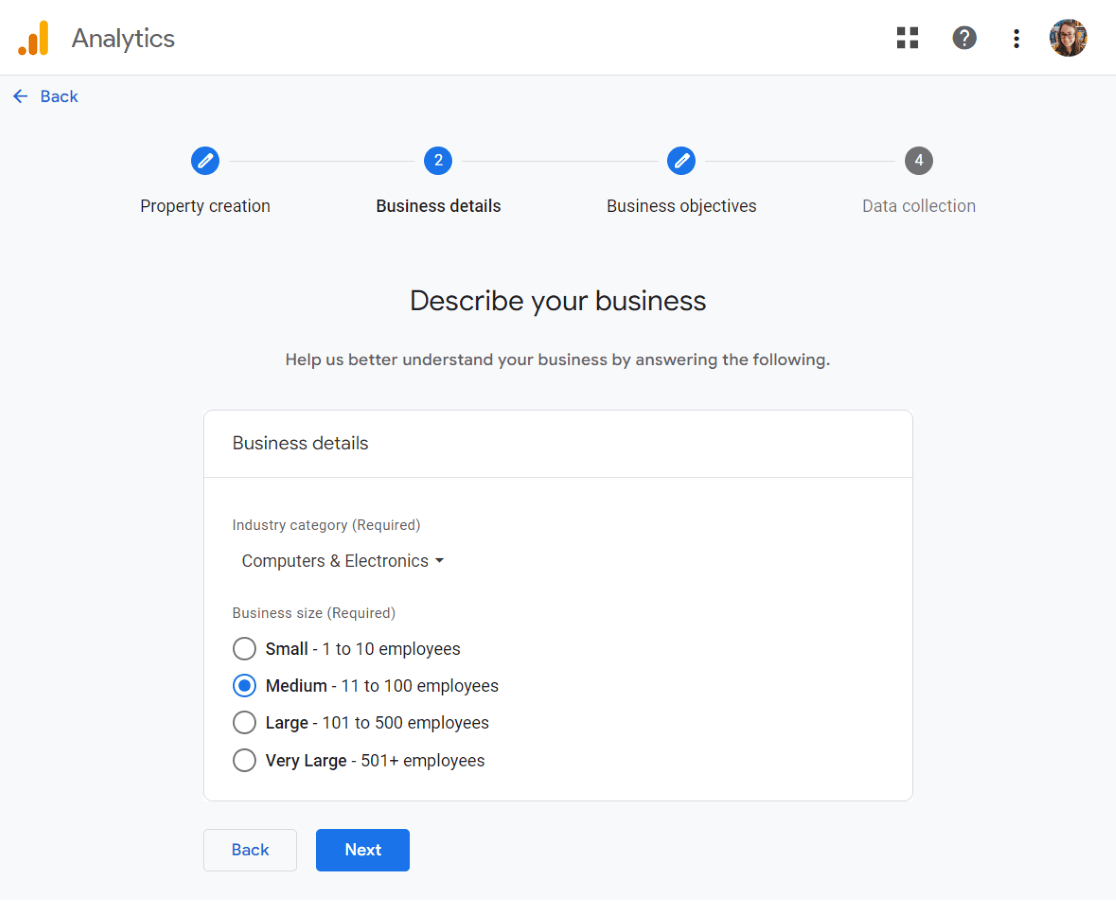
Now you’ll need to answer some questions about your business. Press Next.
Now you’ll be asked to choose your business objectives. We recommend choosing Get baseline reports so that all of the reports will be populated. Click Create.
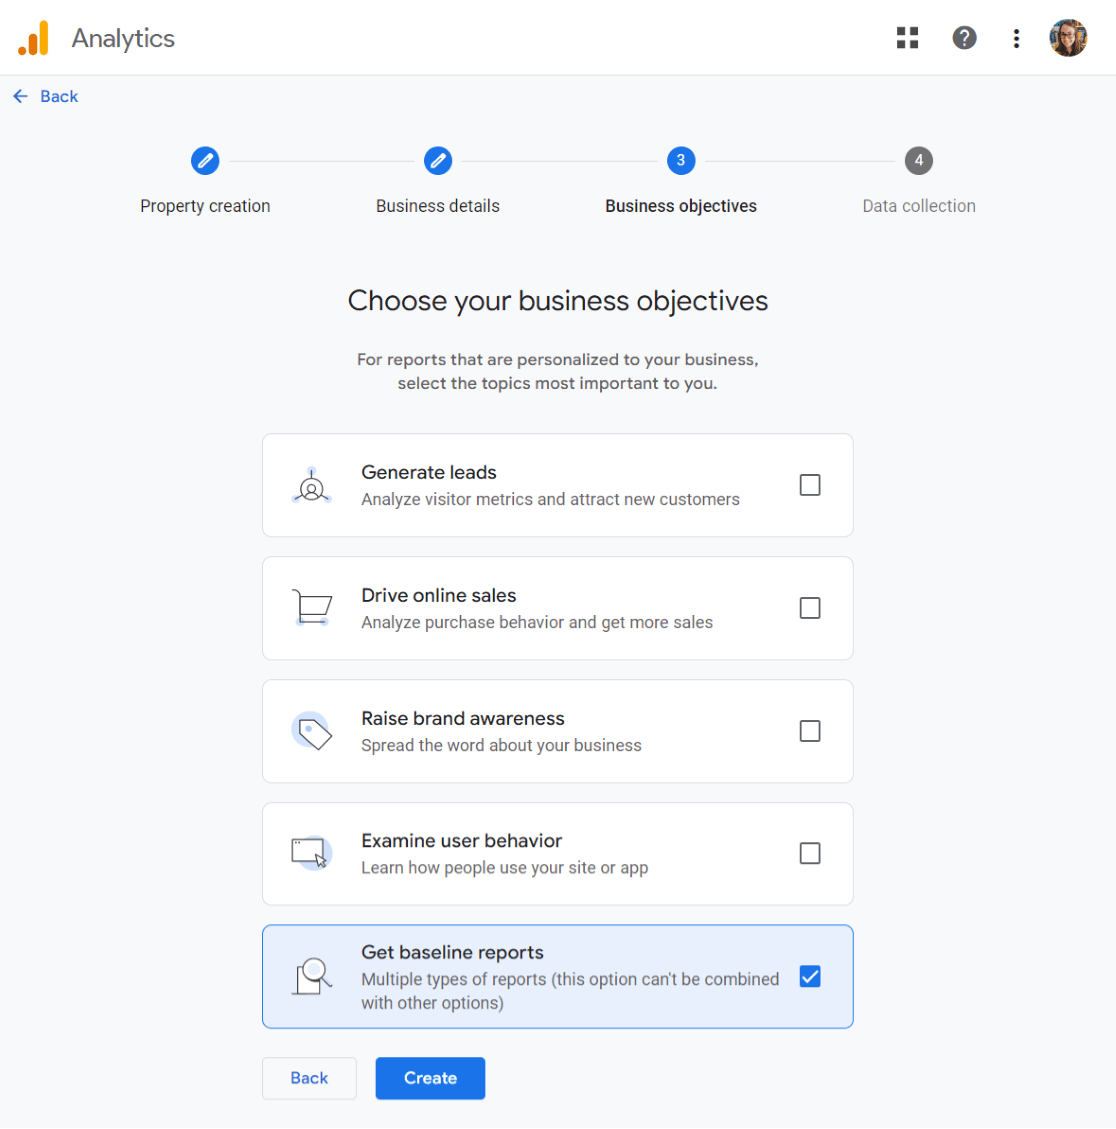
That’s it, you’re now signed up for Google Analytics!
Note: You’ll be prompted to set up a data stream next. You do not need to do this as MonsterInsights will handle that part for you.
Step 2: Install MonsterInsights
MonsterInsights makes it super easy to connect all your sites with Google Analytics. Best of all, you don’t have to mess with tracking codes to set up Analytics.
After you’ve purchased your license, you can get started by downloading the MonsterInsights plugin. Log in to your MonsterInsights account and go to the Downloads tab to download the plugin zip file.
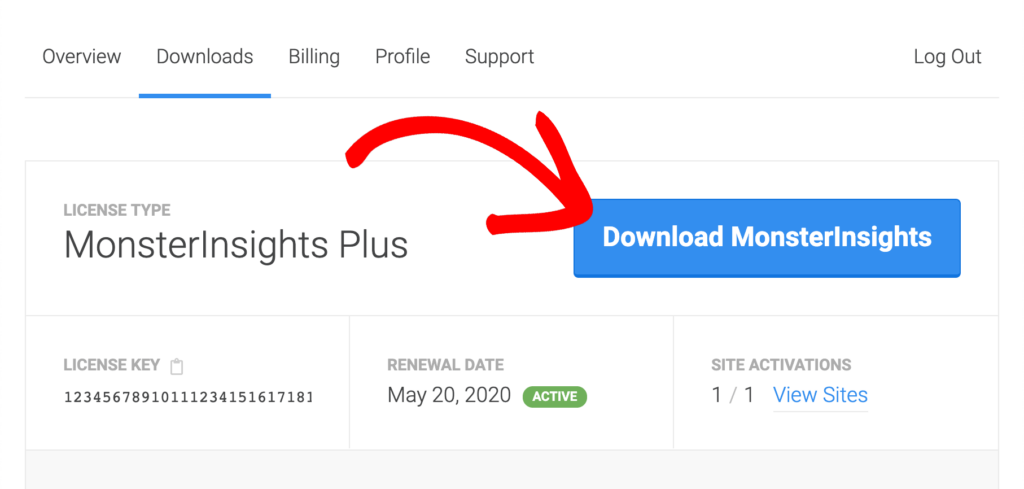
Once you have the zip file, you can log into your multisite network in WordPress.
Navigate to Plugins » Add New and click the Upload Plugin button at the top.

On the next screen, you can the Choose File button to select the zip file you just downloaded. Then, click the Install Now button to upload the file and install the plugin on your site.

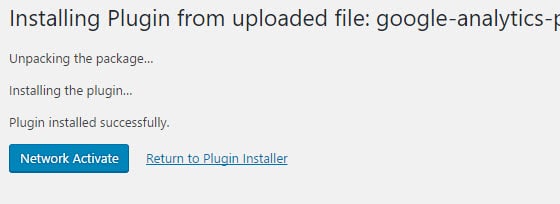
Once the plugin has been uploaded and installed, click the Network Activate button to activate it on your entire multisite network.
Step 3: Connect Google Analytics to Your Multisite Network
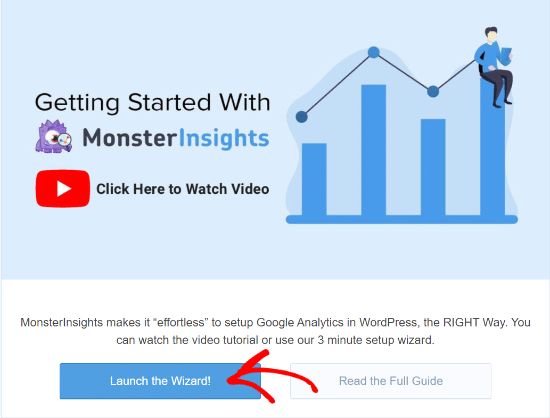
After you’ve successfully activated the plugin, you’ll be taken to MonsterInsights welcome screen, where you can click the Launch the Wizard button to get started.
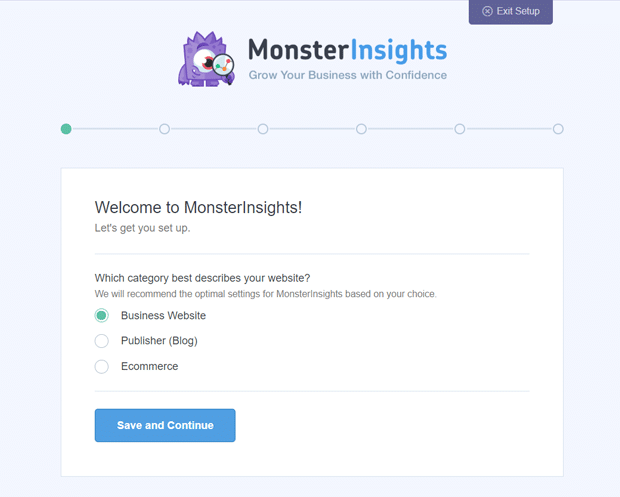
Next, choose a category that best describes your network and click Save and Continue.
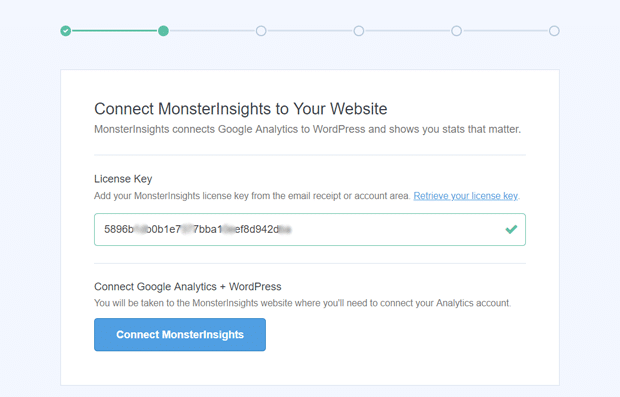
After that, you’ll have to enter your MonsterInsights License Key. You can find the key in your account area under the Downloads tab. Simply copy and paste your key into the wizard.
Click Connect MonsterInsights.
In the next step, you’ll be asked to connect your Google account with MonsterInsights. Make sure to select the account you used in the first step.
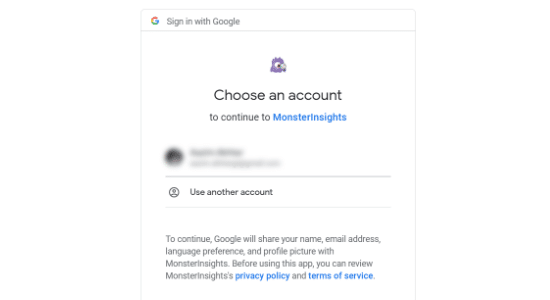
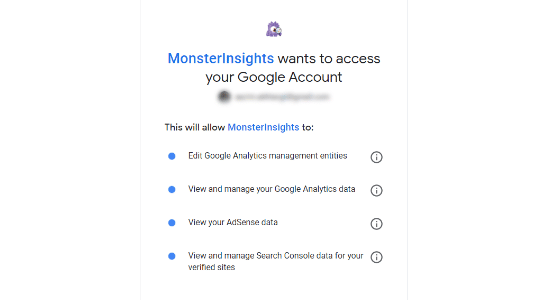
Now, click Allow so MonsterInsights can access your Google account.
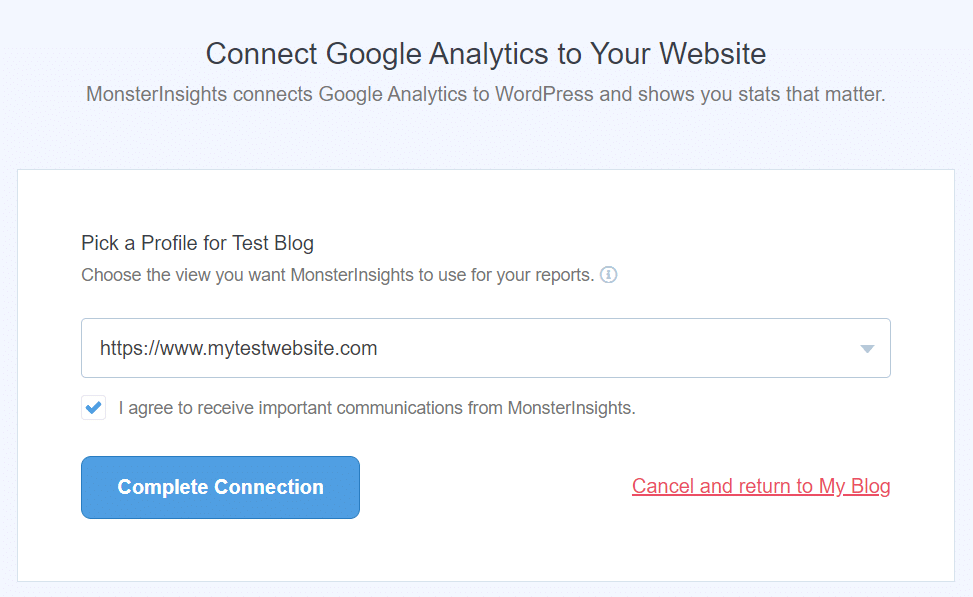
Next, select the website profile you want to Authenticate with MonsterInsights and click Complete Connection.
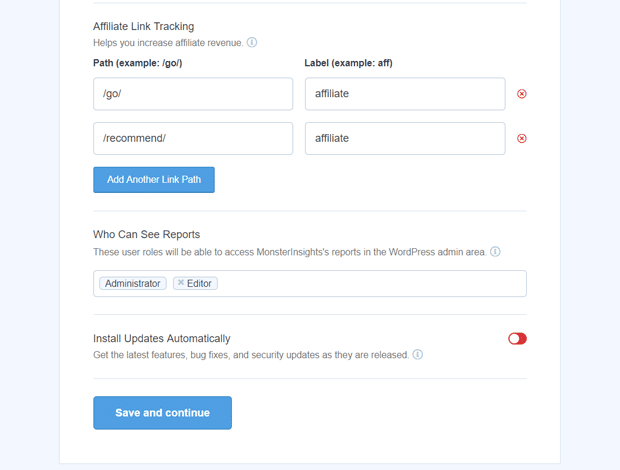
MonsterInsights will now show you some recommended settings such as event tracking, file downloads, affiliate link tracking, and more. Click Save and continue when you’re satisfied with the settings.
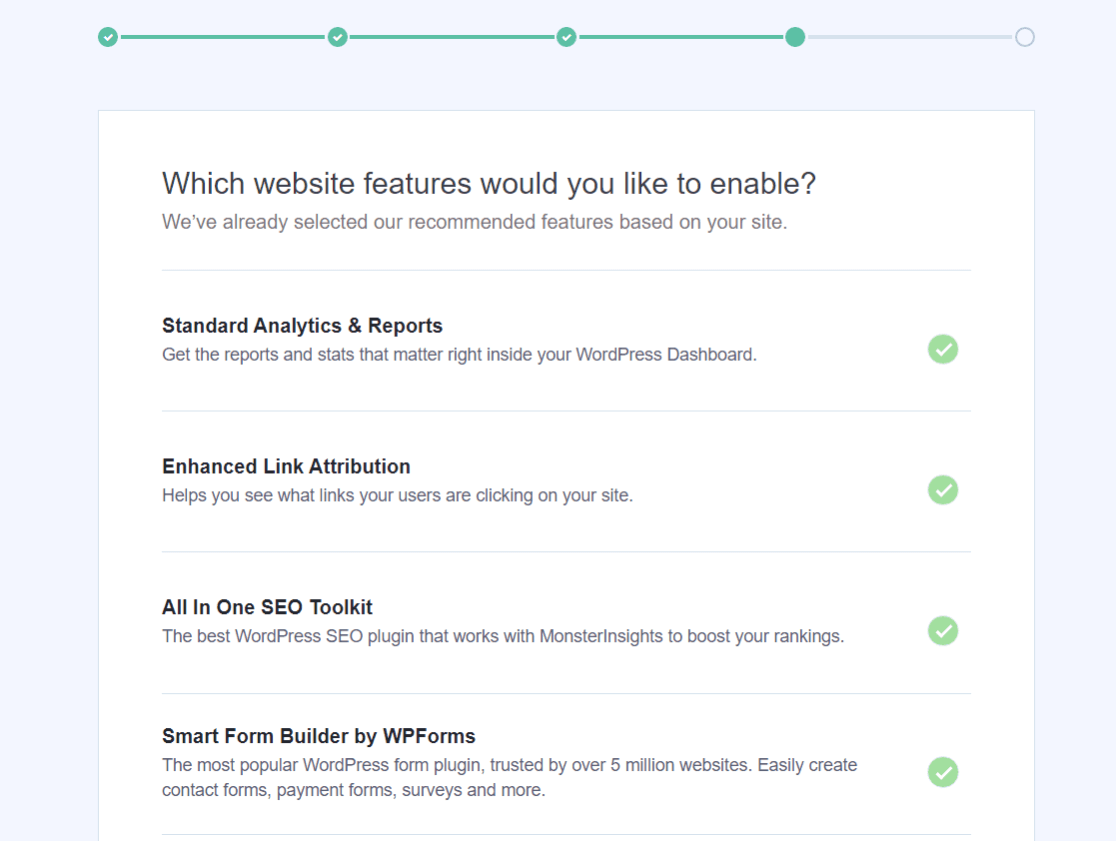
In the next step, you can install MonsterInsights addons and get more insights about your visitors. For instance, with Forms addon, you can track form conversions.
There are more addons you can choose from to set up tracking that’s not possible by default in Google Analytics. Click Save and Continue when you’re done.
You’ll now see a success message. Make sure to click Finish Setup & Exit Wizard.
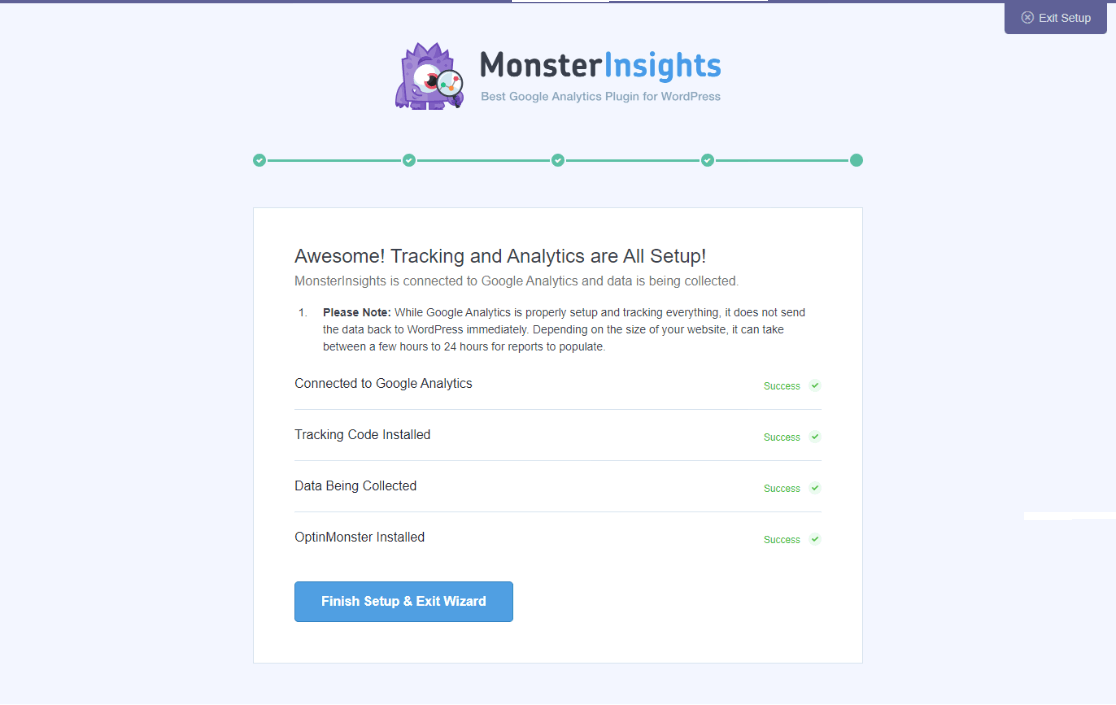
That’s it! Now you’ve activated MonsterInsights for your WordPress Multi-Site Network.
Step 4: View Subsite Analytics in WordPress
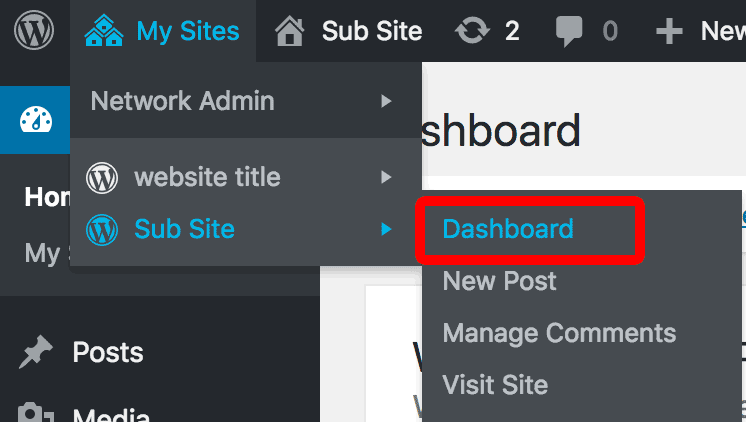
To view analytics data in your subsites’ WordPress dashboards, switch to a subsite’s dashboard by navigating to My Sites » Subsite » Dashboard.
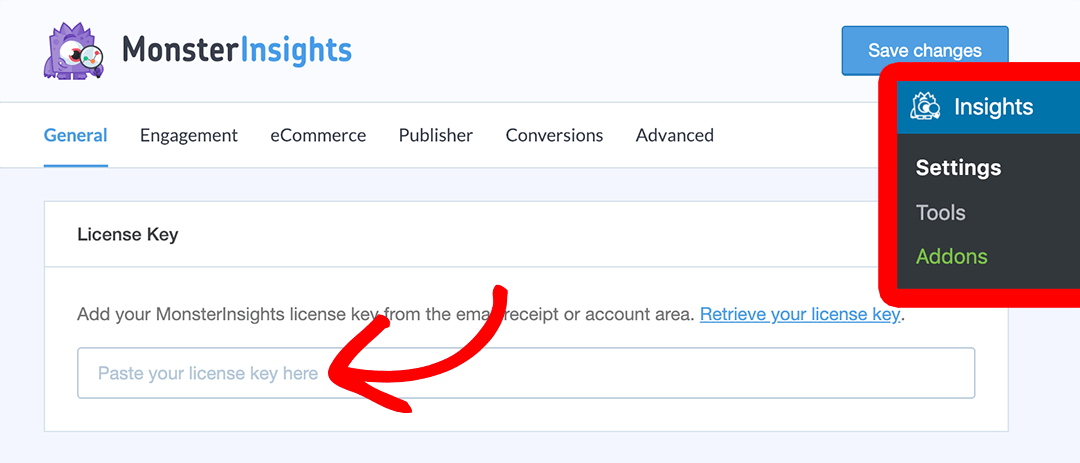
Go to MonsterInsights » Settings and activate your license key the same way that you did before.
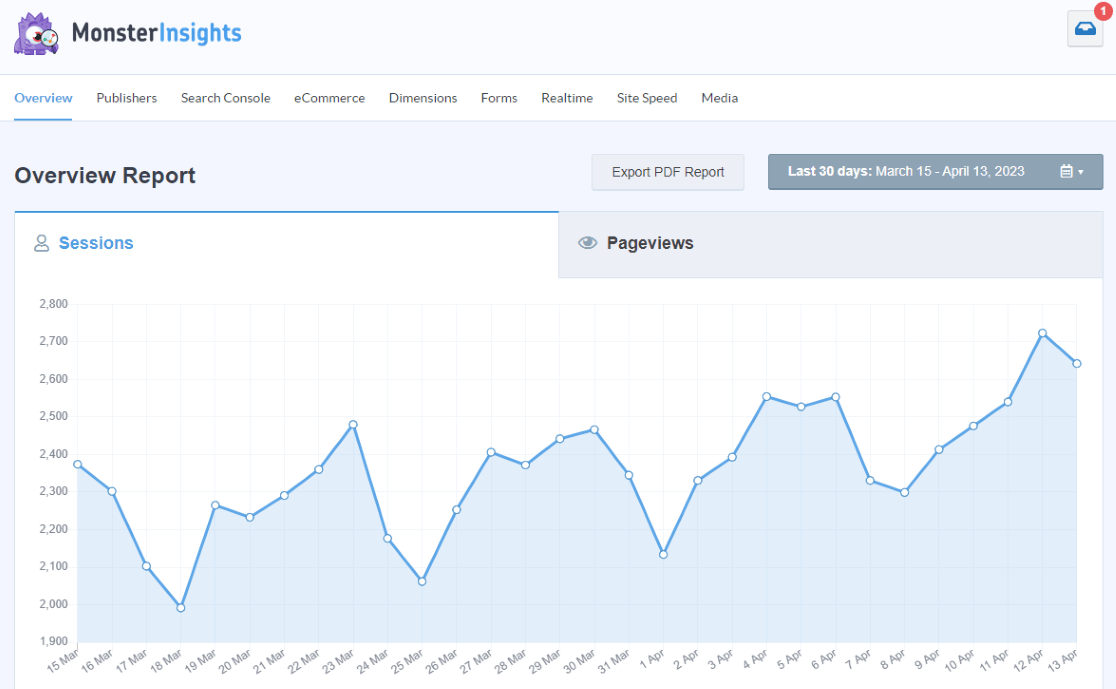
Each site will use the default tracking code that was set up for the network. So, you can see analytics reports for your entire multisite network in the master account’s dashboard. Just navigate to MonsterInsights » Reports.
If that’s all you’d like to see then you can finish the tutorial!
However, If you want to use separate tracking for individual subsites, you’ll need to override the network tracking code, which we’ll show you how to do in the next step.
Step 5: Add More Sites to Google Analytics
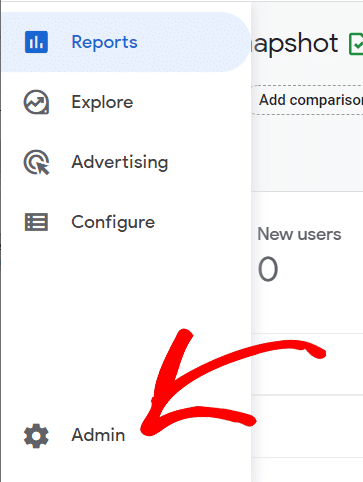
MonsterInsights will track all sites in the master account with the property that you set it up with. To have separate Google Analytics properties with data reports for each individual subsite, head back to your Google Analytics account, and click the Admin cog in the left sidebar.
Now, click Create » Property in the top left.
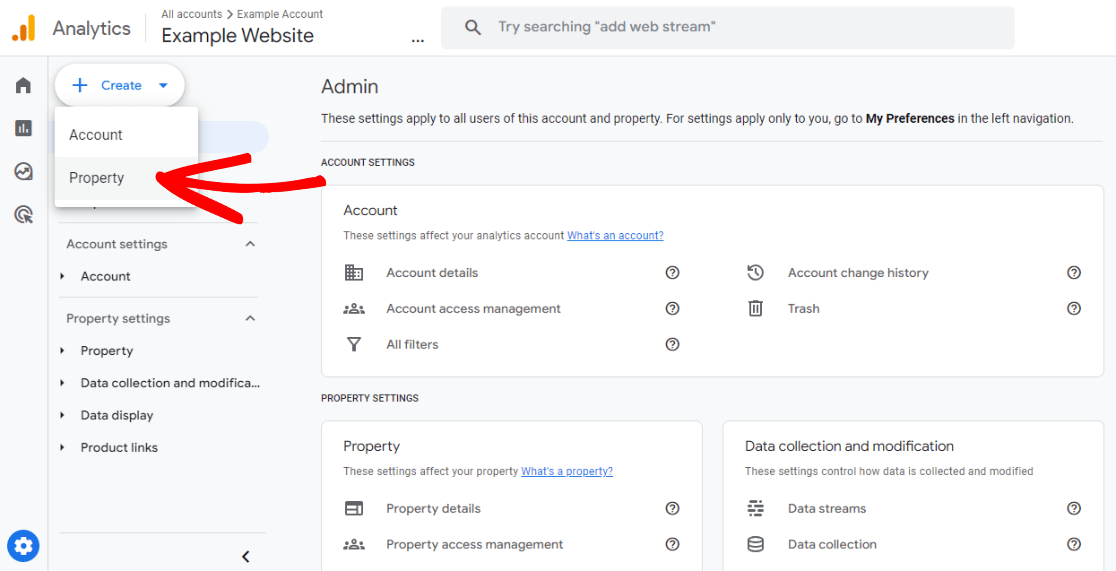
You’ll need to enter the information for each website that you would like to track separately. Simply repeat this step until you have added all sites in your WordPress multisite network.
After you’ve added your sites, they’ll be tracked in separate Google Analytics properties.
Note: It may take a number of hours or a day or two for Google Analytics to begin collecting data.
Once it begins tracking activity, you can go to Insights » Reports in each subsite dashboard to see how they’re performing.
That’s it, you’ve successfully set up multisite network Google Analytics tracking!
We hope this tutorial helped you to set up Google Analytics on WordPress multisite network. You may also want to see our guide on the best WordPress multisite plugins.
Not using MonsterInsights yet? What are you waiting for?
Don’t forget to follow us on Twitter, Facebook, and Youtube for the best WordPress tutorials and Google Analytics updates.

How would a client on a subsite of the network add their own UA code? The instructions about seem to be for the network administrator, but we would need our clients on subsites to be able to add UA code so they can manage it through their Google accounts. Thank you!
The network panel is for the default for all subsites. On a per subsite basis the UA code can be manually entered or authenticated via the per-subsite settings panel.
Hello, Setting up Multisite and going through the authentication of the GA account on the network settings I was expecting that to authenticate all subsites. Would be nice if the subsites had the ability to use the network authenticated account so you didn’t have to auth for each subsite. And that being said would be nice to have network wide settings for the anonymizeIP, etc so you can set once for the entire network.
Thank you
Hi there,
You don’t need to authenticate for each subsite, if you want them to use the same UA code as the one used on the network site. They will automatically default to using that. You only need to authenticate on a subsite if you want it to use a different UA code than the default.
I’ll log network GA options on our feature request board
With this feature can you see an aggregated report of all the sub sites? I am hoping for a way to see all the analytics of the network in one report.
Hey Brian, thanks for your question! Unfortunately this is something that MonsterInsights cannot do currently. This is already a feature request, so I’ll make sure to add another vote for it.