The MonsterInsights Ads Addon makes it easy to insert your Google Ads conversion ID into your WordPress site for you, as well as a conversion label for eCommerce tracking.
To access the addon, you must have the Plus license plan or higher. Before starting, you’ll also have to have the MonsterInsights plugin installed and authenticated with Google Analytics.
Installing the Ads Addon
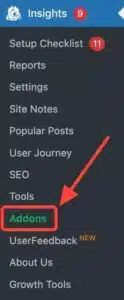
First, go to Insights » Addons.
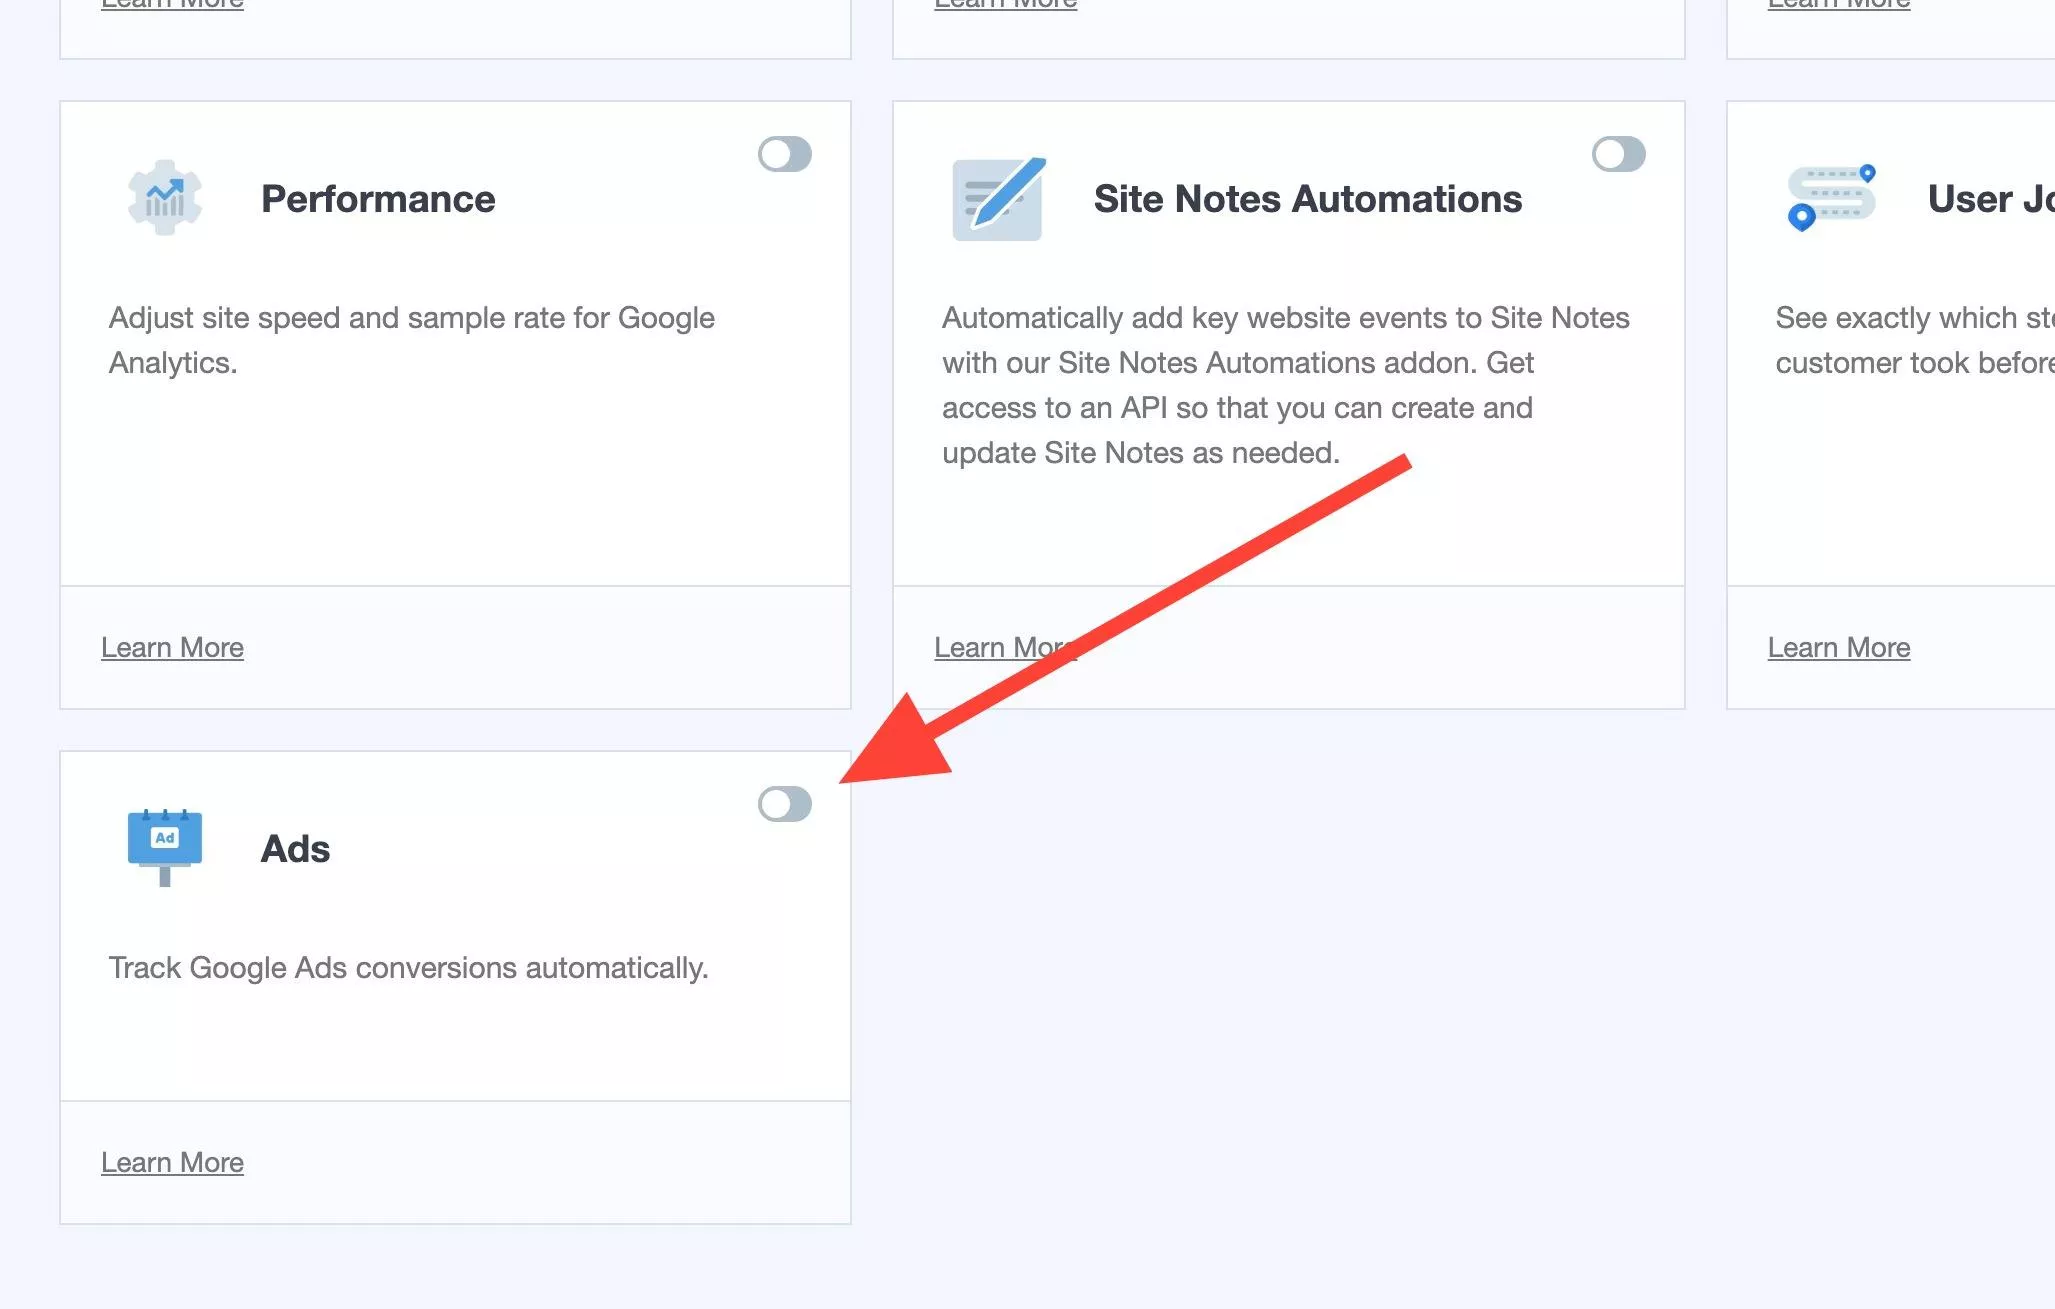
Then toggle the Ads addon to install and activate it.
If you have the Pro license plan or higher, and would like to also insert additional pixel tracking for Bing Ads and Meta Ads, please see our PPC Tracking addon instead.
Now you’ll need to integrate Analytics with your Google Ads account.
Google Analytics Integration With Google Ads
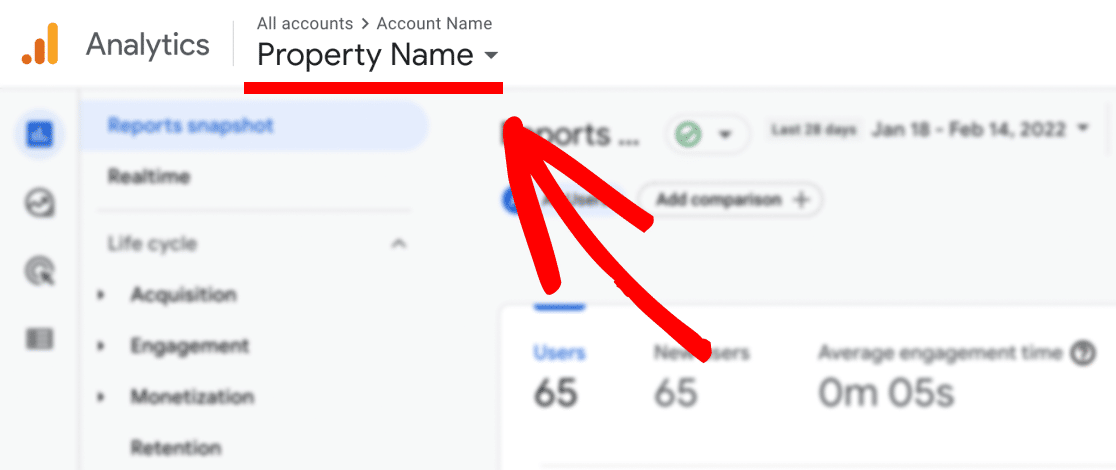
Select which Google Analytics account you want to link your Google Ads to.
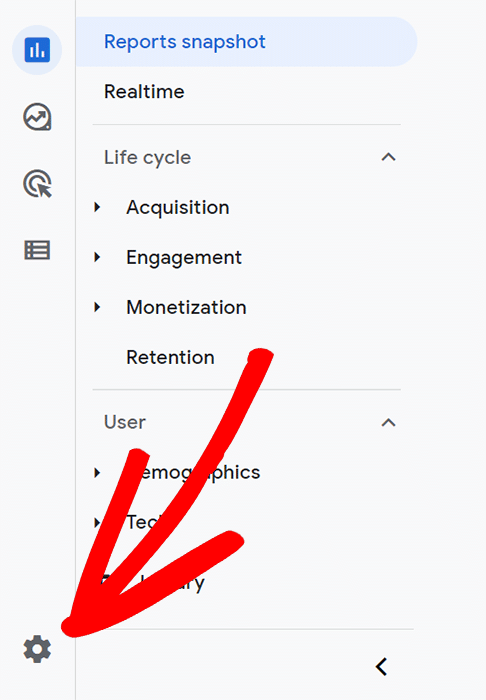
Now click Admin (cogwheel) in the bottom left taskbar.
In the property column, click Google Ads linking.
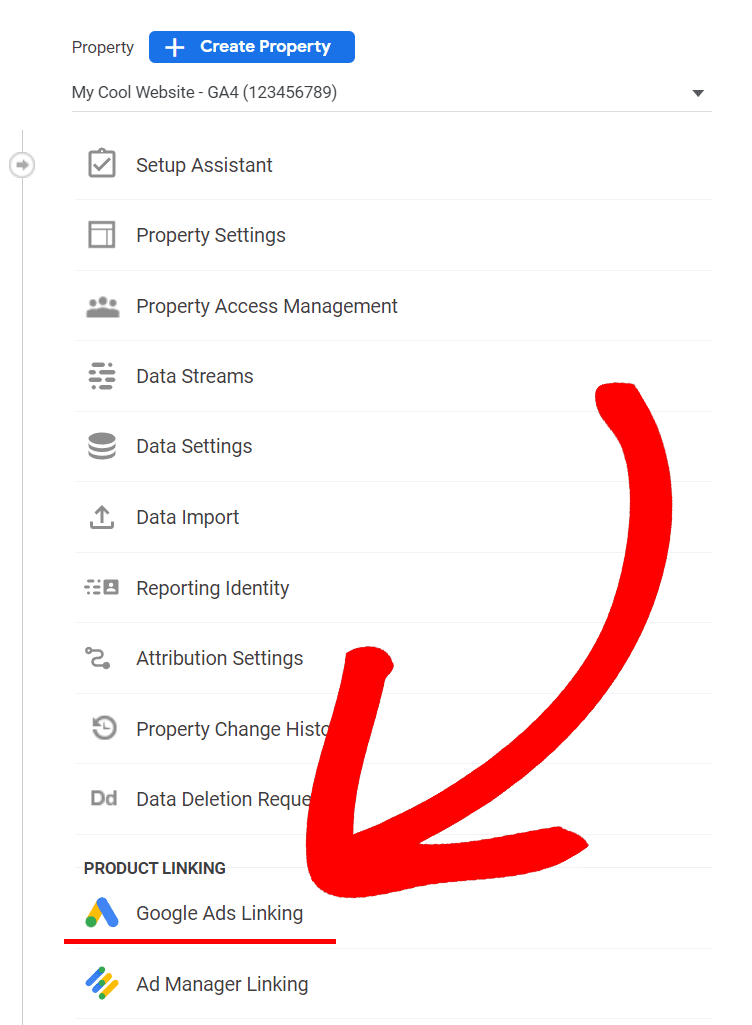
Next click on the blue Link button in the top right.

A new window will slide open and allow you to select your Google Ads accounts. Click on the button Choose Google Ads accounts.
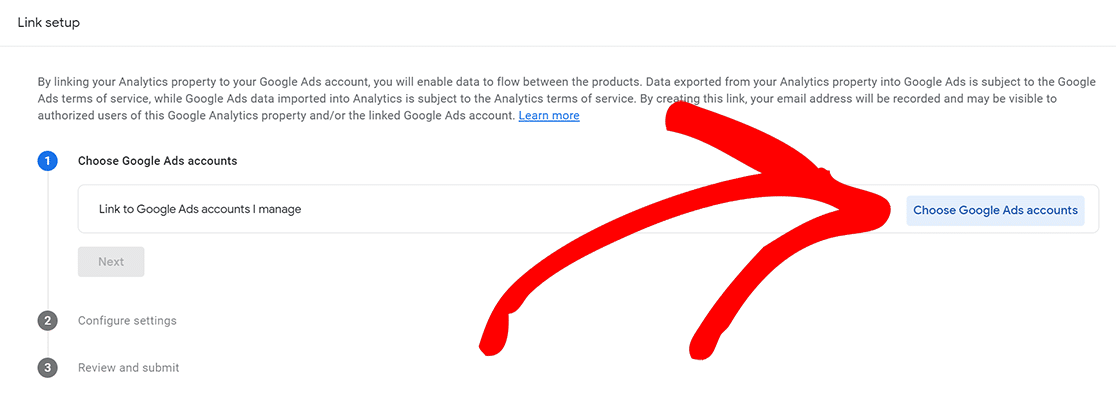
Another new window will slide open showing you the Google Ads accounts you have access to. Click on the checkbox of the account(s) that you wish to link. Then click on the blue Confirm button.

Click on Next on the following two screens. Then you can confirm your Google Ads account linking by clicking on the blue Confirm button at the bottom.
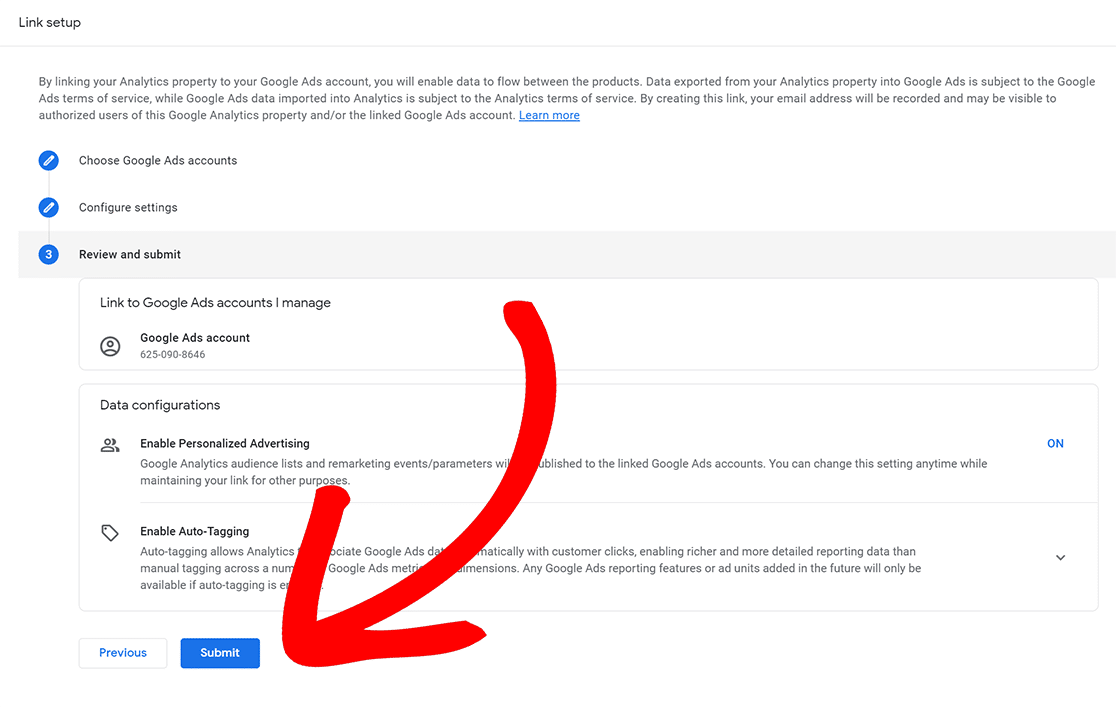
Congrats! You’ve now linked your Google Ads account to your Google Analytics account.
Enable Google Ads Tracking Inside MonsterInsights
Now navigate to Insights » Settings » Conversions » Ads Tracking.
Here you will need to add your Conversion ID and Conversion Label.
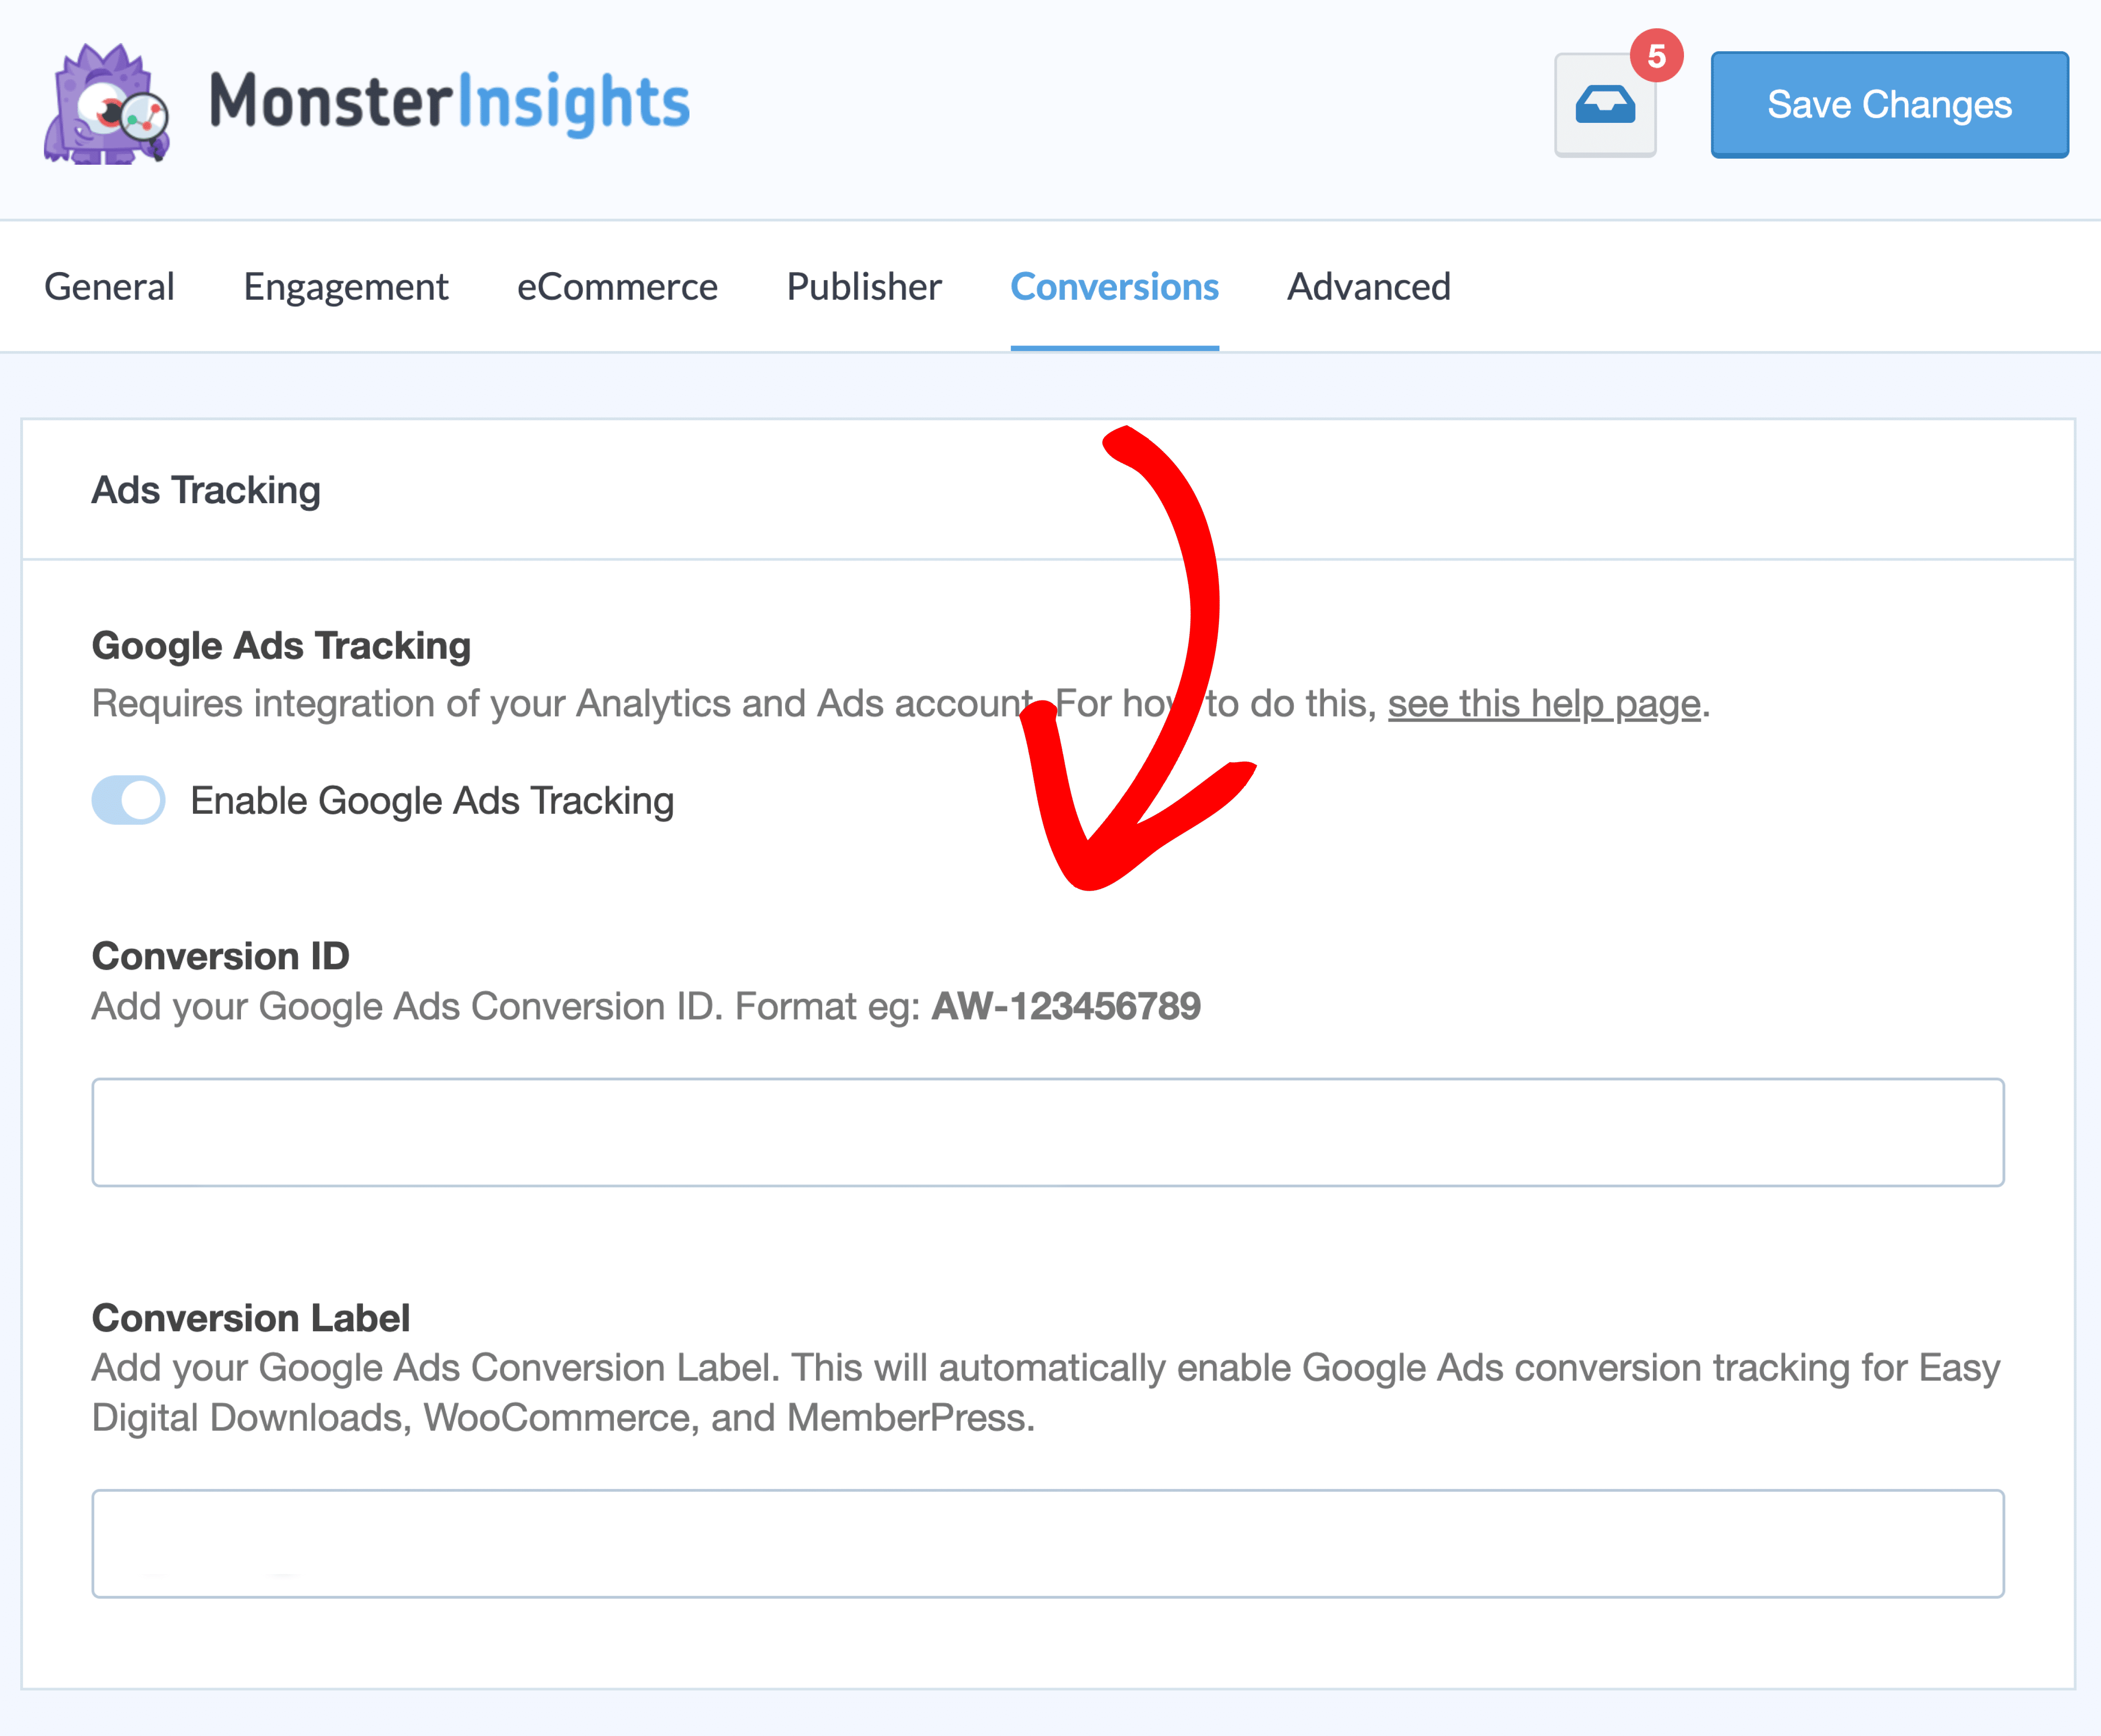
Need help locating your conversion ID and conversion label? Follow our guide for step by step instructions: How to Use Google Analytics for Google Ads Conversion Tracking.
Note: The MonsterInsights eCommerce Addon needs to be enabled to insert a conversion label.
That’s it! No further configuration is required.

