Easily enable eCommerce tracking for Google Analytics with the MonsterInsights eCommerce addon.
In just a few clicks you can begin tracking purchases for your WooCommerce, Easy Digital Downloads, MemberPress, MemberMouse, Charitable, WishList Member, Restrict Content Pro, GiveWP, or LifterLMS store.
To access the addon, you must have the Pro license plan. Before getting started, you should have the MonsterInsights plugin installed and authenticated with Google Analytics.
For a quick walk through, check out the video below.
Installing the eCommerce Addon
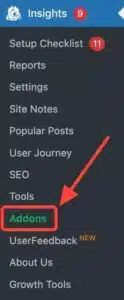
First, while logged into your WordPress site, go to Insights » Addons.

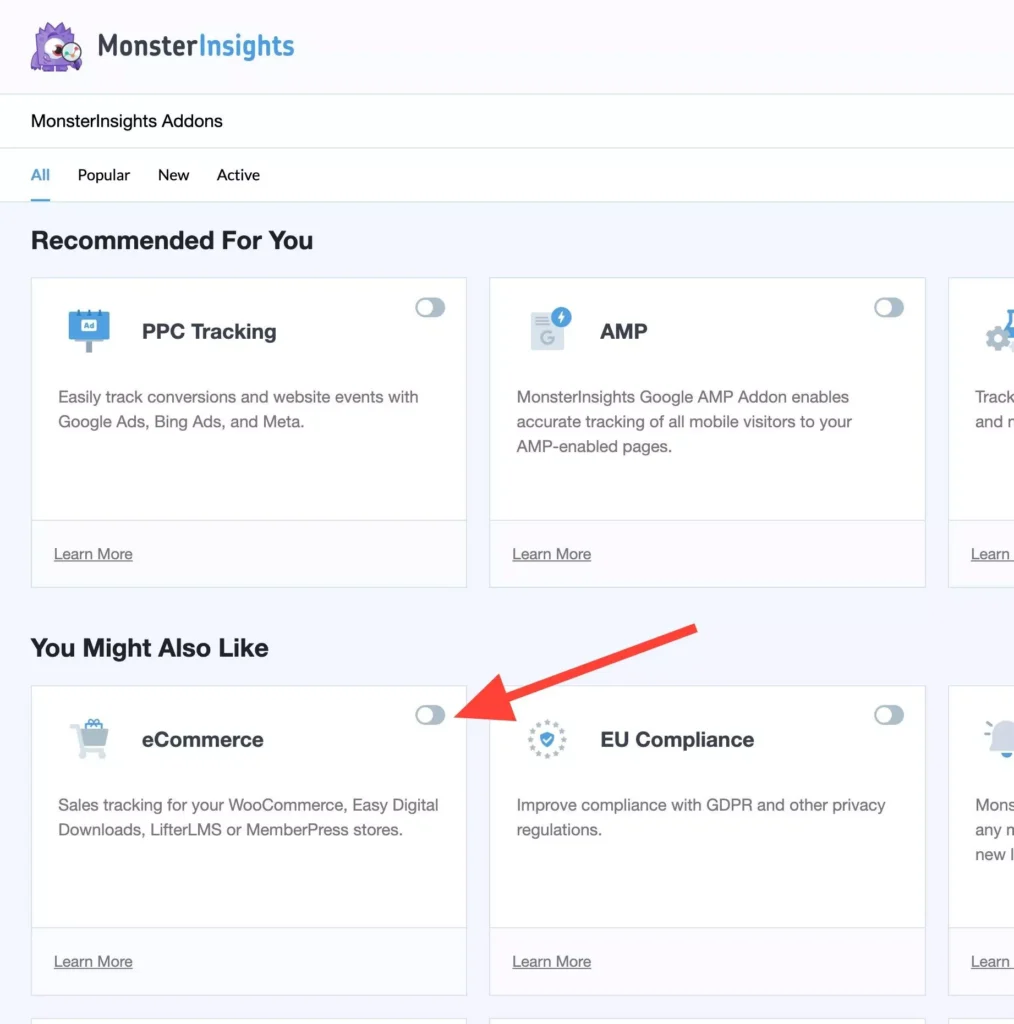
Then enable the toggle for the eCommerce addon.

This will activate the MonsterInsights eCommerce addon.
After enabling it, tracking will occur automatically without any further configuration of MonsterInsights or Google Analytics settings.
That’s it! You’ve successfully enabled eCommerce tracking for Google Analytics.

