What if you could automatically attract visitors to your most visited posts and products? Now you can with the Popular Posts feature in MonsterInsights.
Popular Posts allows you to place your most valued content throughout your website in a strategic way. Talk about cranking up your audience engagement to a new level!
There’s no more guessing what your readers or shoppers like to view and what to buy. And, never again do you need to worry about your content being inadvertently buried out of sight.
In this article, we’ll show you how to get started with Popular Posts. We’ll cover the ins and outs of each type of Popular Posts, so you know which ones work best for you.
Prerequisites
- You are a Pro license user or higher.
- Your MonsterInsights is installed and activated.
- Google Analytics is already authenticated on your website.
- You’ve set up the custom dimension Post Type in the Custom Dimensions addon.
Setting up Your Popular Posts’ Appearance
Once you enable Popular Posts, links to your popular posts or products appear on your site in places you choose. You can have them displayed with or without teaser images.
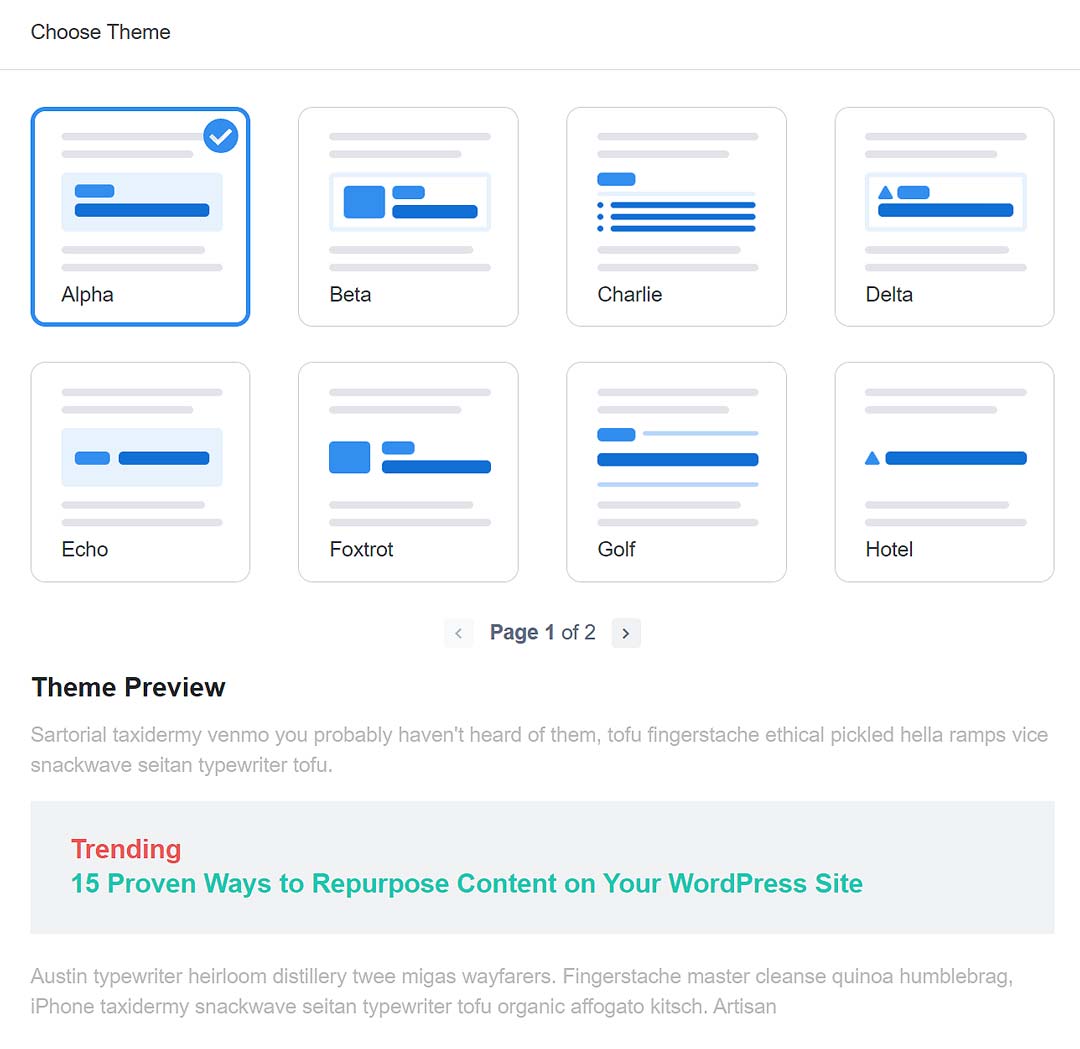
Don’t feel like your graphic design skills are up to par? Don’t worry. You can choose from our professionally designed themes and styles to control the layout and style of your Popular Posts.
Themes are preformatted layouts that you can preview, so you know how your popular posts will look. You can further fine-tune the appearance by customizing things like the colors and font sizes of your post titles and product prices.

The Popular Posts Widget also supports wide and narrow layouts. Whereas the Popular Product has grid and list style layout options.
What if you have your own styles? No problem. You can override our built-in styles with your own in a click of a button.
Once you settle on how your Popular Posts should look, it’s time to see which of the 3 types of Popular Posts you want to use.
3 Ways Different Ways to Show Popular Posts
MonsterInsights gives you 3 distinctive ways to flaunt your content. Choose the type that will best showcase what you have to offer.
- Inline Popular Posts: As the name implies, display your best post right inside your page/post body.
- Popular Posts Widget: Display up to 10 of your top posts in a widget container. You can add the Popular Posts widget to your footer and sidebar widget areas.
- Popular Products. Show off up to 10 of your hot selling items on your single product pages.
Now that you’ve figured out which kind of Popular Posts you want to use, you’ll want to hone in on where you want them placed on your site.
Sorting Your Popular Posts
You have 3 options for selecting which Popular Posts to display and how to sort them. These options give you the flexibility to determine how you define a popular post. A popular post can be:
- The post with the most comments.
- The most shared post from your SharedCount account.
- A randomly selected post from a curated group of posts that you select.

Read our how-to guide for more details on sorting.
Available in our Pro subscription, you can switch on an Automated + Curated mode that displays the top 5 posts from the last 30 days according to your Google Analytics property. See our article on How to include your Popular Posts from Google Analytics.

Since we’ve got the Sort By options all sorted out, we’ll next show you how to insert your Popular Posts with surgical precision.
How to Place Your Popular Posts
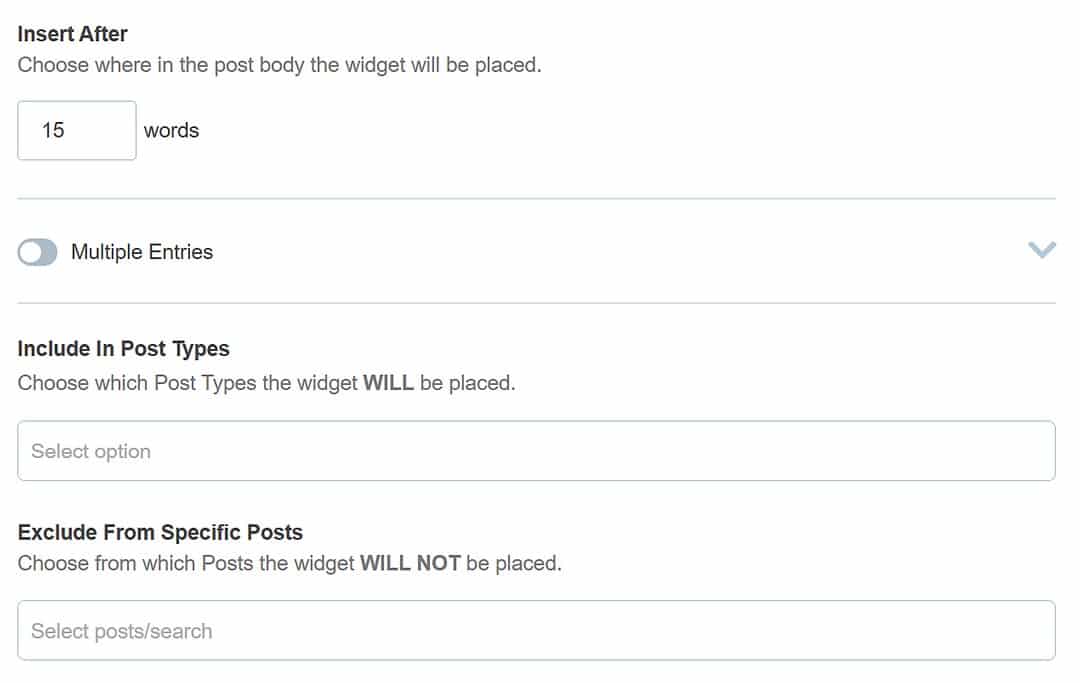
For Inline Popular Posts, you can set a number of words (e.g., 25 or 50) to display before your top post shows up. This allows you to decide how much your reader gets into your content before they see the link to your most trending post.
You can even enable the Multiple Entries setting to show your Inline Popular Posts more than once for those longer articles.
Want only to show Inline Popular Posts on certain post types or exclude them from specific posts? You can choose which post types to include and which specific posts to exclude your popular posts.

The Popular Posts Widgets behaves just like you would expect any other WordPress widget. You can add them to your site’s footers and sidebars.
The widgets are either automatically placed at the end of each post, or manually like the inline posts. Additionally, you can choose which post categories to display them.
Popular Products are either automatically placed at the end of each single product page, or manually using a Gutenberg block, shortcode, and in a sidebar. You can exclude product categories and exclude specific products.
Automatic and Manual Mode
Under the Placement settings, there are 2 modes. Automatic: Where you can opt to automatically embed inside your content your Popular Posts after a certain number of words. Or, you can switch to Manual which allows you to use the Popular Posts shortcode, Gutenberg block, or widget for ultimate control over your placement.